Why Radon in Basement Levels Are Often Highest and What to Do About It
Of all the places radon can accumulate in a home, the basement is almost always the worst offender. Soil gas moves upward through cracks and gaps, and the basement is the lowest living space where that gas gets trapped. I have spent years testing homes across the Midwest, and I can say without hesitation that when a homeowner calls worried about "radon in basement" readings, they are right to be concerned. The good news is that once you understand why it happens, the fix is usually straightforward.
Why Basements Trap Radon
Radon is a radioactive gas produced by the natural decay of uranium in soil and rock. It moves through the ground and enters buildings through the path of least resistance. In a basement, that path is often a sump pit, a French drain, or a crack in the slab. The gas can also seep through hollow-block walls or around pipes that penetrate the foundation.
The physics are simple: warm indoor air rises, creating a slight vacuum at the lowest level. That vacuum pulls soil gas toward the basement. This is called the stack effect, and it is why "radon in basement" levels are consistently higher than in upper floors. Even a well-sealed basement can have elevated levels if the soil underneath is rich in uranium-bearing granite or shale.
The Role of Soil and Construction
Not every basement is the same. Homes built on a concrete slab over gravel are more vulnerable than those with a sealed vapor barrier. I have tested houses where a gypsum concrete subfloor was used as a leveling layer, and those homes often had higher readings because gypsum is porous and cracks easily. The type of soil matters too. Sandy soil allows gas to move faster than clay, but clay can still channel radon along utility trenches.
The EPA radon zone map shows that much of the Midwest, including Missouri and Kansas, falls in Zone 1, meaning predicted average indoor levels above the action threshold. But zone maps are only a starting point. Two houses side by side can have completely different levels. The only way to know is to test.
Testing: Short Term vs. Continuous Monitors
For a first look, a short-term radon test is the most common choice. You place a charcoal canister or alpha-track detector in the basement for two to seven days and send it to a lab. These tests are inexpensive and reliable if you follow the instructions exactly. But they give you only an average for that period.
If you want a more detailed picture, use a continuous radon monitor. These electronic devices record levels hourly and can show daily patterns. I once used a continuous monitor in a St. Louis basement and found that levels spiked after heavy rain, which made sense because water saturated the soil and pushed gas toward the house. That kind of detail is useful for deciding on a mitigation strategy.
Both types of tests should be placed in the lowest lived-in level of the home. Do not test in a closet or near a window. Follow the instructions that come with the kit. And remember: test in winter or early spring when windows are closed and the stack effect is strongest.
Mitigation: The Proven Fixes
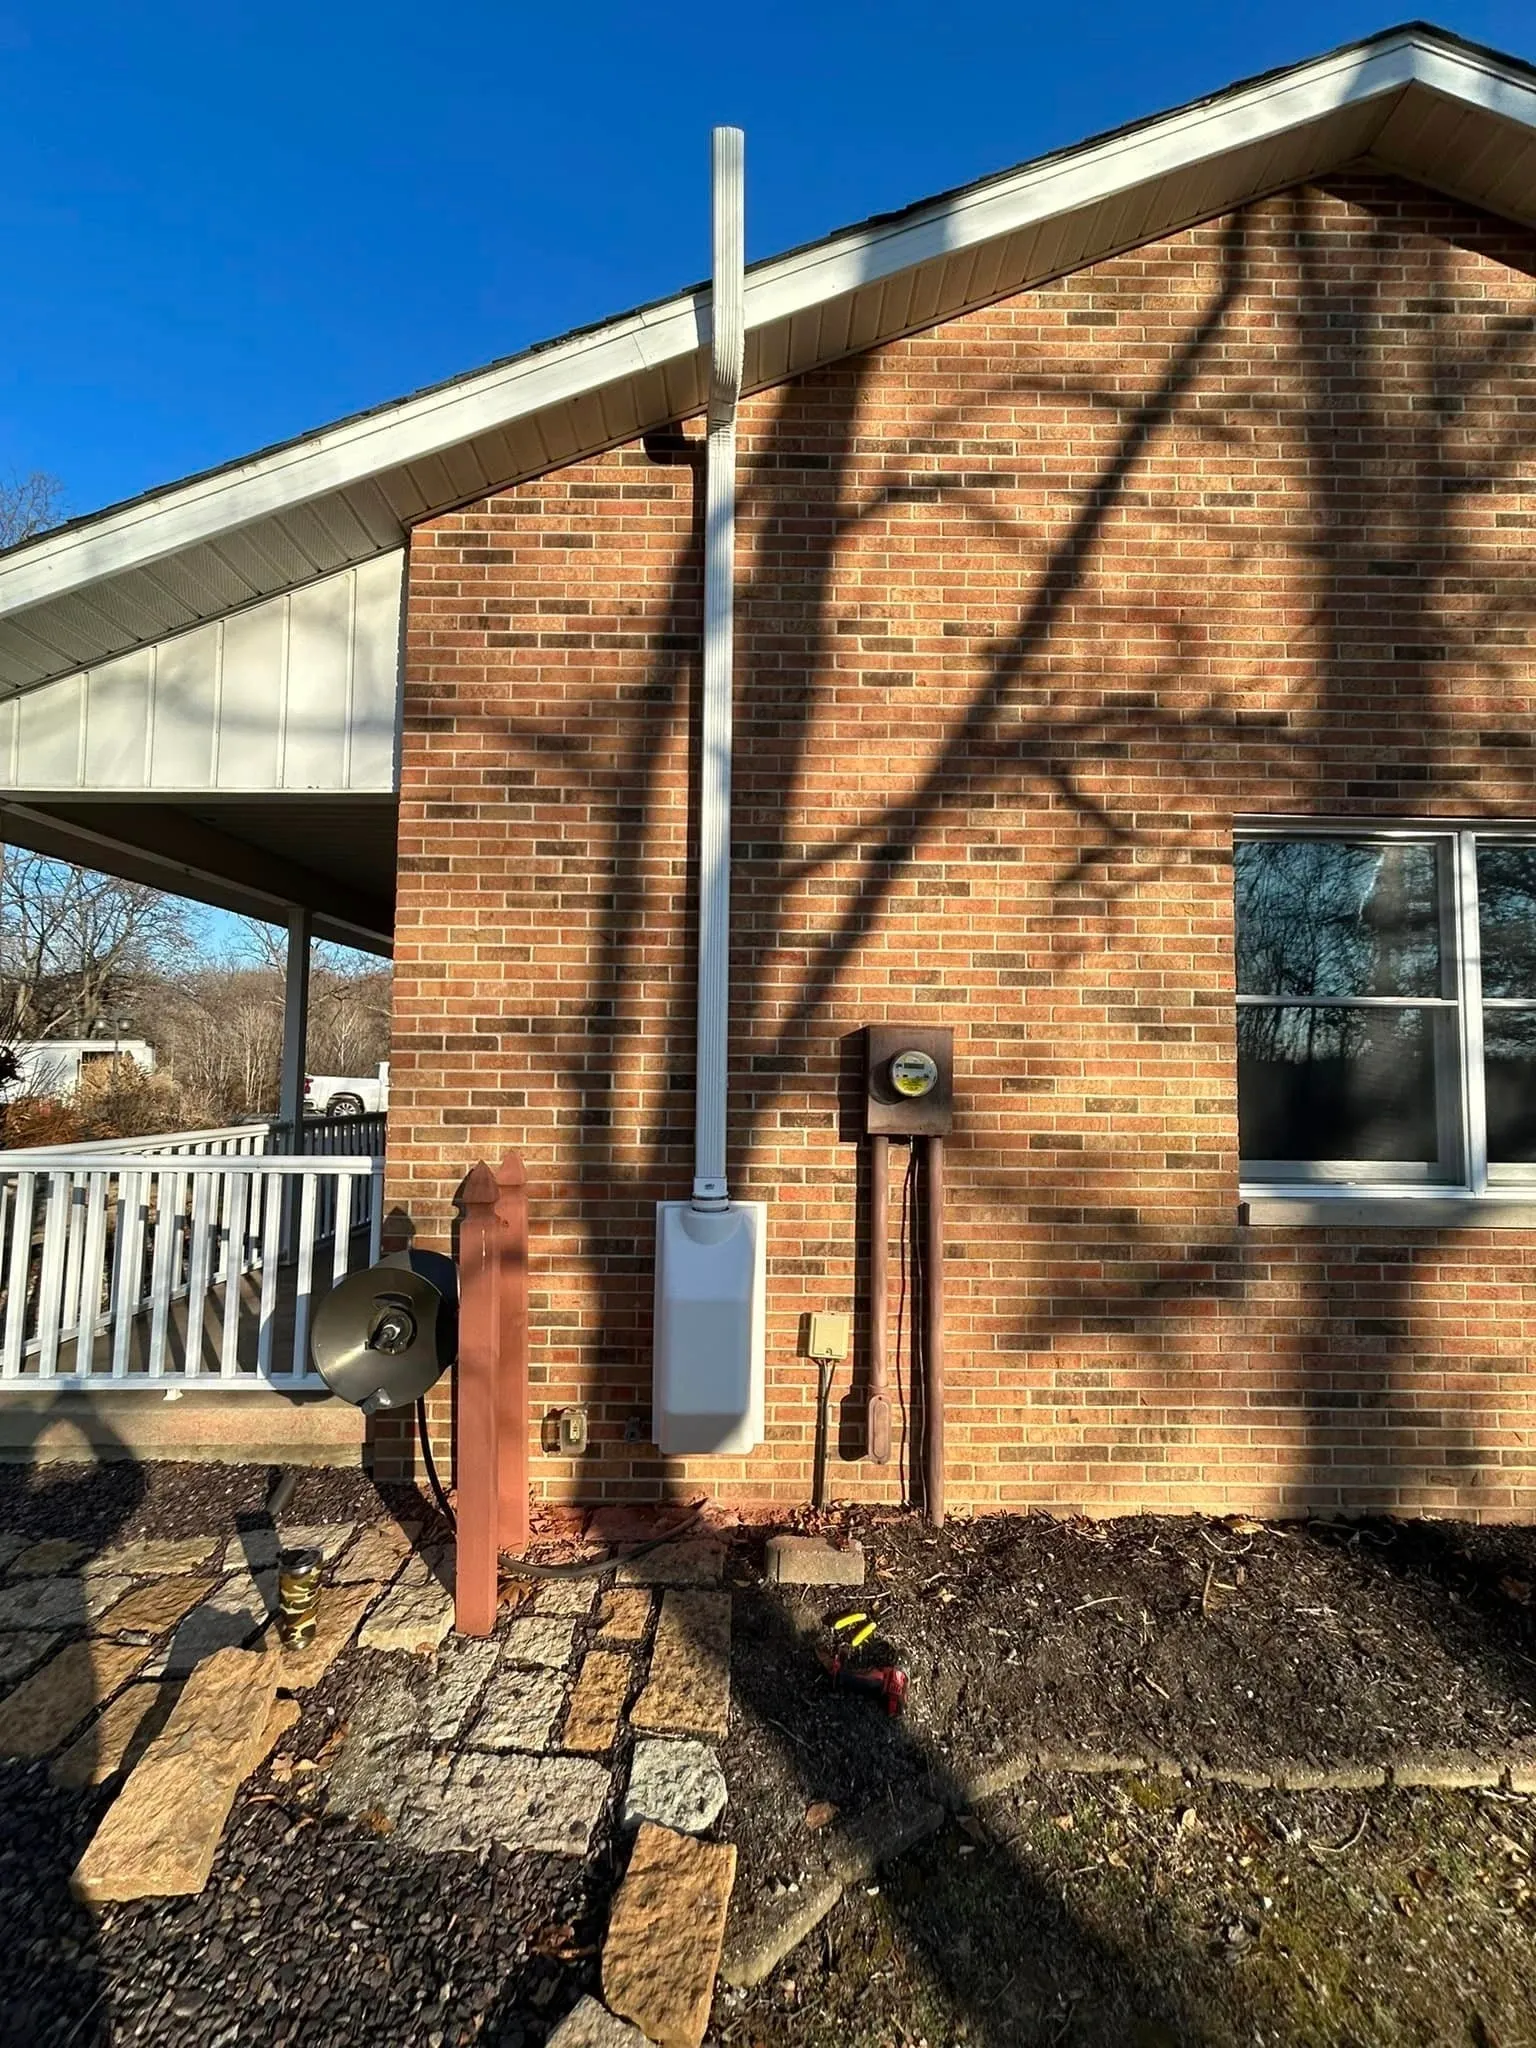
If your test shows elevated levels, do not panic. Radon mitigation is a well-established field, and there are several effective techniques. The most common approach for a basement is sub-slab depressurization. This involves drilling a small hole in the basement floor, creating a sump pit underneath the slab, and running a PVC vent pipe from that pit up through the house to the roofline. A radon mitigation system fan installed in the attic or outside the living space creates suction that pulls soil gas from under the slab and vents it safely above the roof.
There are two main variations. A passive sump system relies on natural air movement and stack effect to draw gas up the pipe. It works okay in some homes but is less reliable. An active soil depressurization system uses a fan, and that fan makes a huge difference. I have seen active systems reduce basement radon levels by 90 percent or more. The fan must be rated for continuous operation, and the pipe must be sealed so that no gas leaks back into the house.
In homes where the basement has a crawlspace or a dirt floor, the approach is similar but the pipe runs under a vapor barrier. In slab-on-grade homes with no basement, the same technique works under the slab. But because we are talking about "radon in basement" scenarios, the slab is usually the floor itself.
Post-Mitigation Verification
After a system is installed, do not assume the problem is solved. A post-mitigation radon test is essential. Many radon mitigation contractors include this in their service, and a reputable company will not consider the job complete until the test shows levels below the EPA action guideline of 4.0 picocuries per liter. I always recommend using a continuous radon monitor for the post-mitigation test because it gives a day-by-day record and can catch any intermittent issues.
Most systems come with a radon mitigation system warranty that covers the fan and the piping for a set number of years. Read the warranty carefully. Some require annual checks of the manometer, a U-tube device that shows whether the fan is pulling suction. If the manometer reads zero, the fan may have failed or the pipe may be blocked.
Other Considerations: Water and Air Exchange
Radon can also enter the home through well water. Radon in water testing is a separate process, and if levels are high, a granular activated carbon filter or aeration system can treat the water at the point of entry. This is less common than soil-based radon, but it does happen, especially in areas with deep granite wells.
Some homeowners ask about using an air exchanger to dilute radon. While an air exchanger can lower levels by bringing in fresh outdoor air, it is rarely a complete solution. In cold weather, it wastes energy, and in humid weather, it can introduce moisture problems. Active soil depressurization is almost always more effective and more efficient.
Radon-Resistant New Construction
If you are building a new home, ask your builder about radon-resistant new construction techniques. These include a layer of gravel under the slab, a vapor barrier, a sealed sump pit, and a PVC vent pipe that runs from the sump up through the roof. Even if the pipe is not connected to a fan at first, it can be activated later if testing shows high levels. This approach is inexpensive during construction and much cheaper than retrofitting later.
Who to Trust: Certified Professionals
Radon mitigation is not a DIY project for most homeowners. The work involves electrical wiring, roofing penetrations, and careful sealing. A qualified radon mitigation contractor should be certified through the National Radon Proficiency Program or a similar credential. They will know the local conditions, including St. Louis radon hot spots like areas near the Missouri River bluffs or the granite-rich soils of the Ozark foothills. They can also advise on the best fan size and pipe routing for your specific basement layout.
If you live in Kansas City, note that Kansas City radon levels are also in Zone 1, and the same principles apply. The soil there can have high radon potential, especially in neighborhoods built on glacial till or limestone bedrock.
Final Thoughts
Radon is a serious health risk, but it is also a solvable one. Testing is cheap, mitigation is effective, and the peace of mind is worth the effort. If you own a home with a basement, start with a short-term radon test. If the results are high, call a certified contractor for an active soil depressurization system. And after the system is installed, run a post-mitigation radon test with a continuous radon monitor to confirm the fix worked. The "radon in basement" problem has a clear solution, and there is no reason to live with elevated levels.